Guild Wars 2 interface shortcuts covered here
Use these Guild Wars 2 interface shortcuts when you want fewer menu clicks for common actions: skill swaps, build and equipment templates, mount changes, chest rewards, waypoint travel, chat tabs, minimap placement, map guide panning, and party or squad map marks.
Most of the fastest actions here use right-clicks, double-clicks, or Shift-clicks on interface elements you may already be using.
Right-click skill swapping

Screenshot: Laranity
steps
- Wait until you are out of combat before changing equipped skills.
- Find the skill slot you want to change on your skill bar.
- Right-click the skill slot instead of trying to use the small arrow above the slot.
- Pick from the available skills that appear for that slot.
Right-clicking the slot is the cleaner method because the small arrows above individual skill slots can be awkward to target.
Weapon swap button for build and equipment templates

In-game interface showing skill slots and weapon swap icon at the bottom-center.
Screenshot: DeployableLover
steps
- Look at the weapon swap button on the left side of your skill bar.
- Right-click the weapon swap button.
- Use the panel that opens to choose a build template or equipment template.
- Switch to the build or gear set you want without opening the full build menu manually.
This shortcut is useful when you keep multiple builds or gear sets ready and want to move between them quickly.
Mount button and mount keybinds

Screenshot: Laranity
steps
- Right-click the mount button when you want to swap mounts from the interface.
- Choose the mount you want from the mount list that opens.
- Set separate keybinds for individual mounts if you use mount swapping often.
- Put those mount binds somewhere you can reach consistently, such as a keypad, if that layout fits your setup.
Separate mount binds remove the need to open the mount list every time you want a specific mount.
Chest opening and waypoint travel

The mini-map is shown with chest icons visible above it.
Screenshot: Laranity
steps
- When reward chests appear above the minimap, right-click most of them to open them instantly.
- On the map, double-click a waypoint when you want to travel there.
- Use the double-click action to skip the normal confirmation dialog for waypoint travel.
UI customization limits
How can I change the UI in GW2?

UI in Guild Wars 2 includes the chat box and various interface elements.
Screenshot: Athis
steps
- Swap the chat box and party UI on the left side of the screen if that layout works better for you.
- Move the minimap to the top-right corner of the screen if you prefer it there.
- Drag the minimap to change its size.
- Zoom the minimap in or out until it shows the distance you prefer.
- Click the gear icon on the chat box to customize chat settings.
- Click the arrow within an individual chat tab to adjust that tab.
- Click the plus button to add more chat tabs.
Use separate chat tabs when you want different chat views available without changing one tab back and forth.
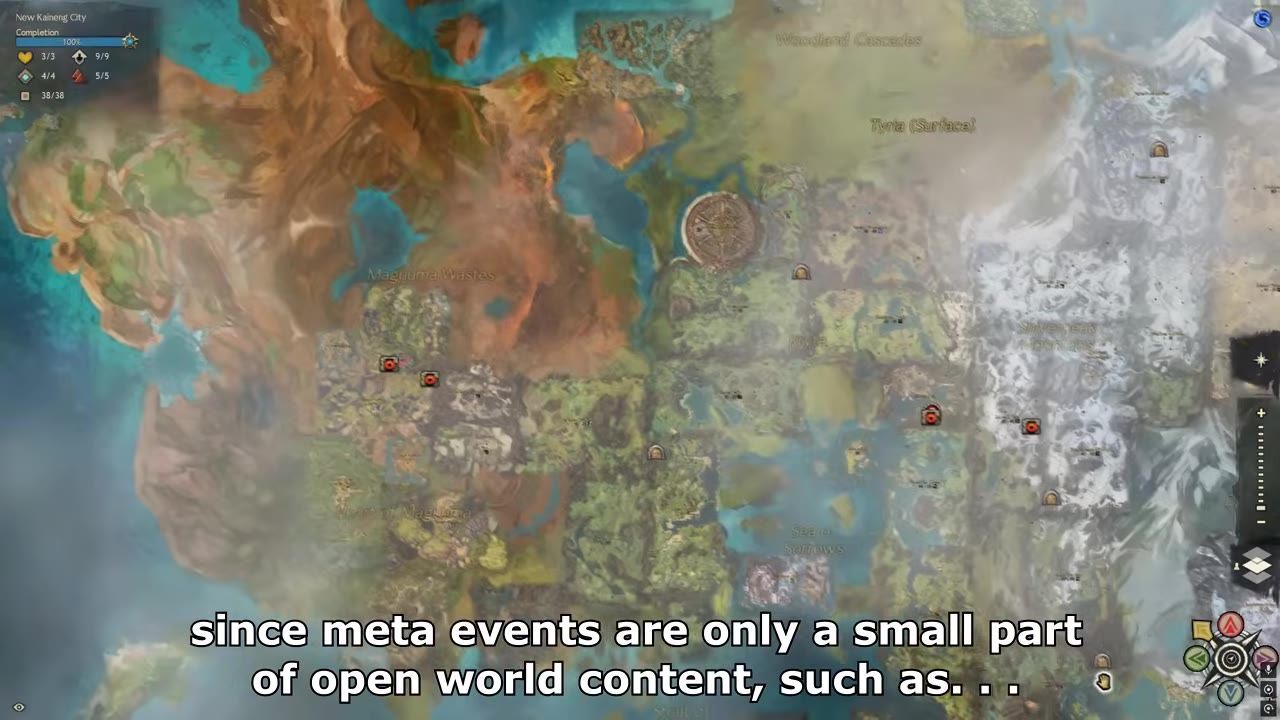
Map guide button and permanent waypoint marker

Screenshot: Athis
steps
- Open the map and look at the map guide button in the bottom-right corner.
- Use the map guide to instantly pan to your character.
- Use the same guide to pan to specific expansion maps.
- Place a permanent waypoint marker on the map when you want to mark something important or mark where you want to go.
- Treat that permanent waypoint as a marker only, because you cannot teleport to it.
A permanent waypoint marker is for navigation planning, not travel.
Temporary map markers and map drawing for parties or squads

A detailed game map with visible markers, event notices, and cursor annotations.
Screenshot: Athis
steps
- Press Shift plus left click on the map or minimap to place a temporary warning marker.
- Hold Shift plus left click when you want to choose a specific temporary marker type.
- Use temporary markers for PvP or WvW callouts when you need a quick shared warning.
- Hold Shift and right-click on the map to draw a route or other mark.
- Use map drawings when you want to show a path through the map to someone in your group.
- Remember that map drawings and markers are visible only to players in your party or squad.
Parties can have up to five total players, so these tools are most useful when the people who need the marker are already grouped with you.
In this series
- Guild Wars 2 Beginner Tips: A Calm Start Guide for New Players
- Deposit materials and use all
- Guild Wars 2 Social Help: Groups, LFG, Friends, and Commanders
- Guild Wars 2 Leveling Guide: Early Builds and Open-World Exploration
- Selling Junk in Guild Wars 2: Vendors, Salvaging, and /wiki
- Guild Wars 2 Gear Progression: What to Upgrade While Leveling and at 80
- Guild Wars 2 Character Creation: Race, Profession, Server, and First Choices
- Guild Wars 2 Inventory Management: Identify, Salvage, and Deposit Gear
- Guild Wars 2 Dungeon Access: How Story and Explorable Modes Work
- Movement and combat basics
- Level 80 progression systems
- Guild Wars 2 Expansions Features: Mounts, Gliding, Elite Specs, and Story