To tackle Shinryu Unreal in Final Fantasy XIV, understand the fight phases, manage Worm's Heart correctly with focused DPS, position for safe tail drop zones, and learn to handle ultimate attacks and phase-specific mechanics.
Understanding Shinryu Unreal Fight Phases
Shinryu Unreal revolves around multiple phases, each introducing new mechanics as the fight progresses. The arena changes shape after significant attacks, limiting player movement and options for avoiding mechanics. Being aware of the transitions and adapting to the evolving battlefield is critical to survival.
Worm’s Heart Mechanics and Management
The Worm’s Heart mechanic is essential to control. It appears during the first two phases of the encounter and contributes to Shinryu's corrupted ether gauge. If this gauge reaches full capacity (100%), Shinryu unleashes a devastating ultimate attack that guarantees a party wipe.
To successfully navigate this mechanic, prioritize destroying the Worm's Heart before the gauge fills. DPS should immediately focus on this add when it spawns to avert the danger of the wipe mechanic.

The corrupted ether gauge is filled halfway, alongside targeting information for the Worm's Heart add. — Hector Hectorson - Hector Lectures
Shinryu’s Tail Drop Zones and Mechanics
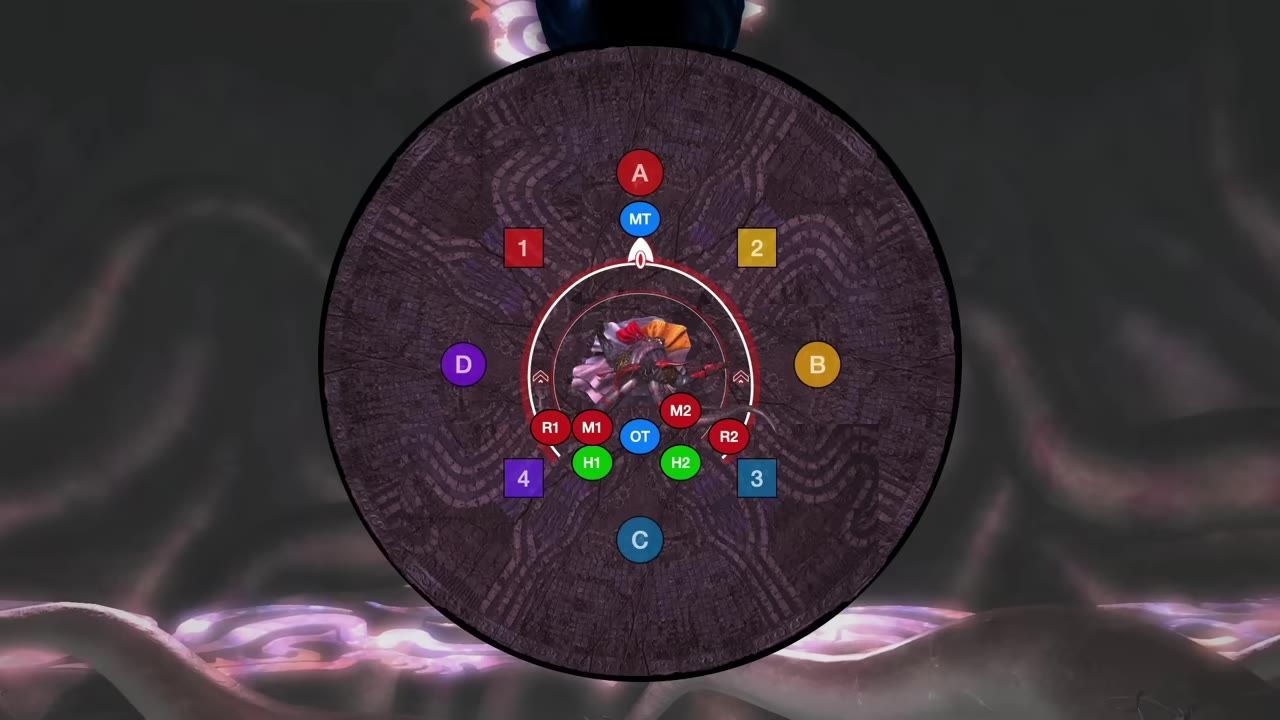
Shinryu Unreal introduces a unique tail marker that targets specific players. Those players must strategically place the tail marker on designated "drop zones" to minimize damage and protect tiles in the arena.
- Tail markers crack tiles upon impact. If dropped on previously cracked tiles or missing tiles, the tail will fall through and no damage can be done to it. This results in lower DPS output and increased risk.
- Always ensure the middle tile remains intact. If it breaks completely, the party wipes.
- Position according to roles as follows:
- Healers: Drop the tail on the one marker (bottom right).
- Tanks: Use the three marker (bottom left).
- DPS: Choose between the two marker (top left) or the four marker (top right) based on the state of the middle tile. Drop it on two if the middle tile is cracked; otherwise, use the four marker.

The arena displaying markers for tail drop zones, marked by numbers, symbols, and visual indicators. — Hector Hectorson - Hector Lectures
Handling Shinryu’s Boss Abilities
Shinryu uses a variety of elemental abilities, some of which are paired with wing-based casts.
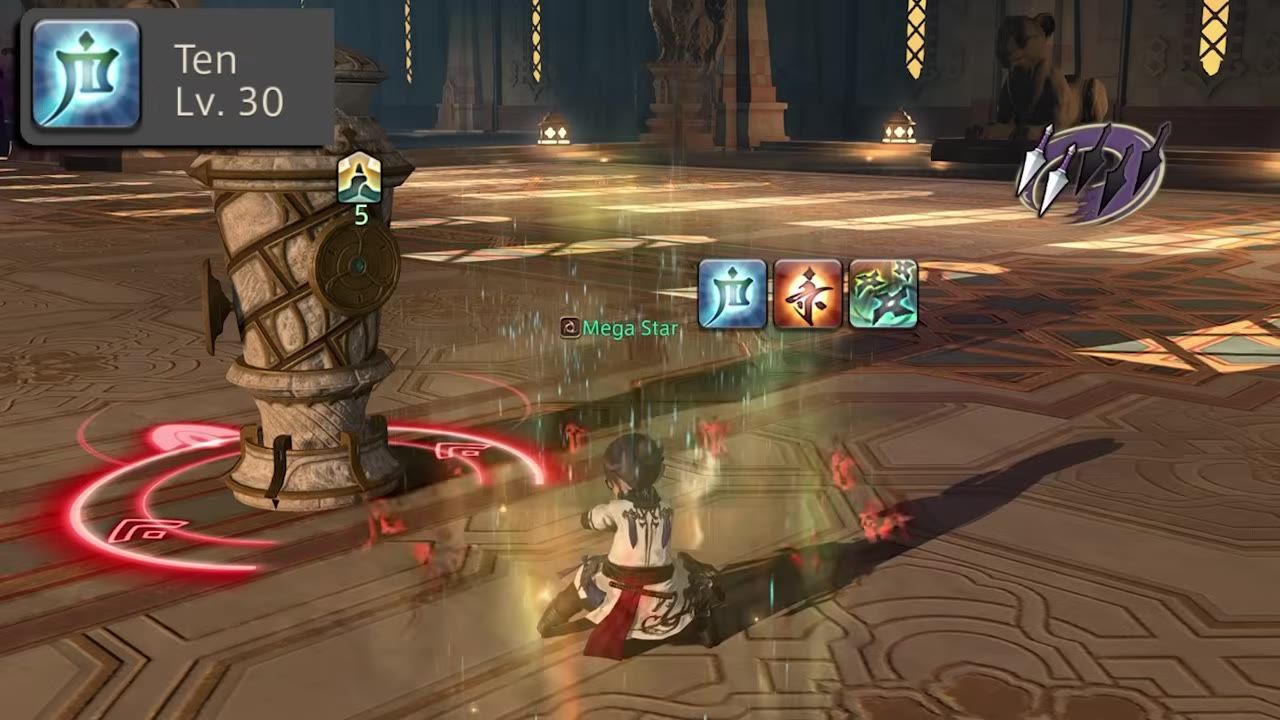
- Tidal Wave: Heavy knockback and raid-wide damage. Players can use knockback immunity skills when the cast bar is halfway through.
- Akh Morn: A tank buster targeting the player with highest aggro. It can be shared or solo-tanked depending on strategy.
- Hellfire: Fire-based raid-wide damage paired with a damage-over-time effect. Position in water puddles to reduce the damage.
- Judgment Bolt: Electric raid-wide damage that paralyzes random players. Dodge icicles beforehand and avoid water puddles during the cast.
- Wing Mechanics: Watch for elemental casts from either wing, signaled via cast bars visible in the enmity list or visual indicators on the wings. Manage knockback, positional plays, and prepare for tether mechanics as needed.

The knockback immunity icon is shown active amidst Shinryu's Tidal Wave attack. — Hector Hectorson - Hector Lectures
Ultimate Attacks and DPS Checks
Shinryu executes several difficult ultimate attacks throughout the fight, requiring coordination and precise execution.
- Earthen Fury: Marks the transition between phases with massive raid-wide damage, breaking and cracking multiple tiles on the arena.
- Diamond Dust: All tiles freeze during this attack. Players must stand still until the effect ends, requiring careful group positioning to manage chain-breaking mechanics.
- Aerial Blast: A powerful knockback mechanic combined with raid-wide damage. Use knockback immunity at the correct time to prevent falling off the arena. Ensure proper positioning for chains and Earth Breath immediately afterwards.
Keep track of these ultimates and ensure that the corrupted ether gauge does not fill prematurely. Execute DPS checks with focused burst damage during tail and Worm's Heart phases.

Players are positioned on frozen tiles during the Diamond Dust ability cast. — Hector Hectorson - Hector Lectures
FAQ
What are the mechanics in Shinryu Unreal?
Shinryu Unreal features mechanics such as Worm's Heart that must be destroyed to manage the corrupted ether gauge, tail drop zones for arena preservation, tether breaking, and elemental attacks from its wings.
How do I handle the Worm's Heart in Shinryu Unreal?
Focus DPS on the Worm's Heart immediately when it spawns. If it is not destroyed before the corrupted ether gauge reaches 100, the entire party will be wiped out.
What should I know about Shinryu Unreal fight phases?
The fight progresses through multiple distinct phases, marked by ultimate attacks that can change the arena and introduce new mechanics.
What abilities does Shinryu use in the Unreal trial?
Key abilities include Tidal Wave, Akh Morn, Hellfire, Judgment Bolt, and several wing-named mechanics such as summon icicle, Levinbolt, and Hypernova.
How do I avoid the ultimate attack during Shinryu Unreal?
Manage worm’s heart spawns to prevent the corrupted ether gauge from reaching 100. For other ultimate attacks, follow positioning requirements, use knockback immunity at critical moments, and learn phase-specific mechanics.
What tips are there for phase three of Shinryu Unreal?
Ensure healers and DPS properly position for Earth Breath markers, use mitigation tools for chain-breaking mechanics, and stay prepared for raid-wide damage followed by adds that require healing instead of DPS.
Sources
Screenshots on this page are frames from the videos below, used to illustrate the steps they describe. All rights remain with their creators.
- Shinryu Unreal Guide — Hector Hectorson - Hector Lectures, April 28, 2026
Checked against:
- Patch 7.55 Notes — SquareEnix Vystenya, 2026-07-28
- Patch 7.51 Notes — SquareEnix Vystenya, 2026-06-02
- Patch 7.5 is live! — SquareEnix Vystenya, 2026-04-28
- Topics | FINAL FANTASY XIV, The Lodestone — FINAL FANTASY XIV, The Lodestone