To overcome the first seven bosses in the Venomous Abyss raid on normal and heroic difficulties, follow specific strategies for each encounter detailed below.
Nek'zali the Soulcoilers Strategies
To defeat Nek'zali the Soulcoilers, manage both phases and the intermission effectively:
steps
- Phase 1: Prevent Amani ads from reaching the center of the arena. Ads are completely CC-able. Dispense debuffs carefully as healers need to avoid dispelling or healing too quickly to prevent spreading harmful circles.
- Intermission: Two mini-bosses spawn sequentially along with more Amani ads. Focus on clearing ads and defeating mini-bosses one at a time on heroic.
- Phase 2: The boss utilizes moving circles caused by Invoke ability alongside passive AoE damage. Save Bloodlust for this hectic phase.

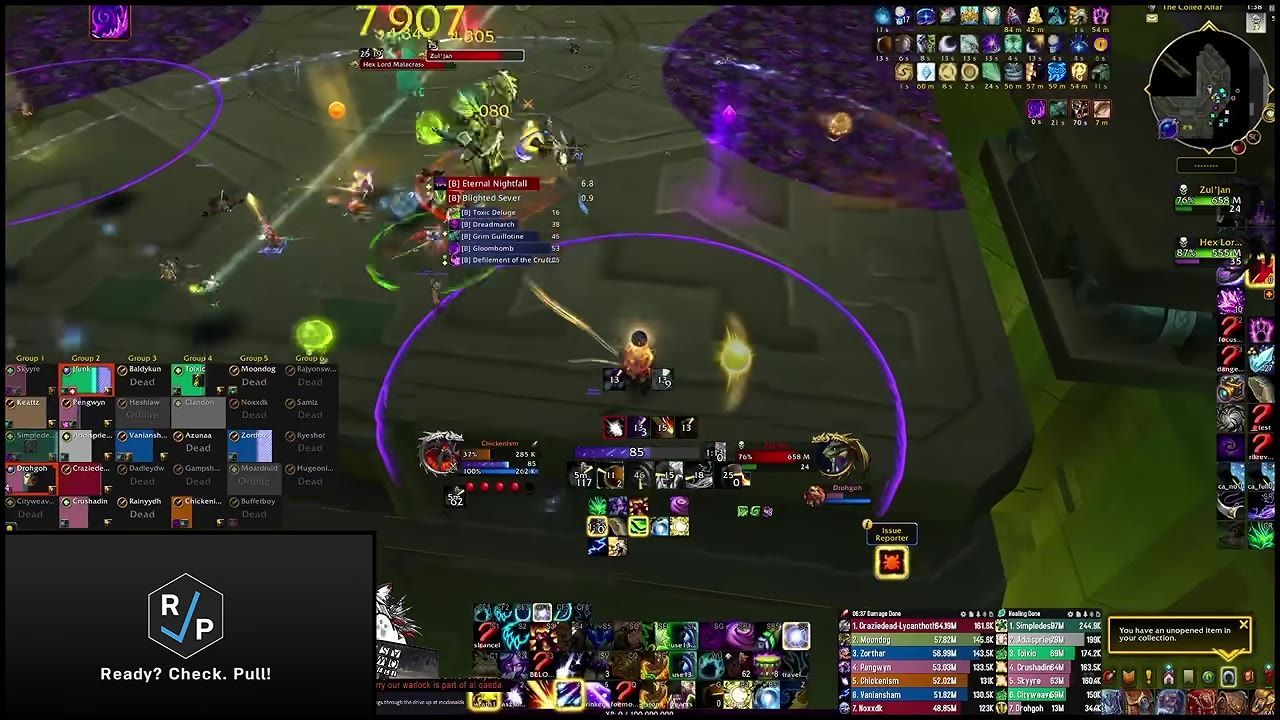
The arena displays boss mechanics during the fight against Nek’zali the Soulcoiler. — Tactyks
Entombed Sentinels Mechanics
This encounter requires carefully separating the two bosses and managing the intermission mechanics:
steps
- Boss Mechanics: Keep the bosses separated by at least 40 yards to avoid their damage reduction buff. Handle the blood boss by managing dots and spreading out to avoid large puddles. Soak Unstable Miasma strategically, balancing group size to avoid excessive puddle creation. For the green boss, soak toxic puddles promptly and focus on Venom Coagulation adds.
- Intermission: Balance stacks pre-spread across the raid, aiming to add up to four by colliding with others. Pre-spreading is crucial to avoid errors that result in penalties.
- Alternate bosses back and forth while handling their respective mechanics.
The Lost Explorers Abilities
Coordinate your team and manage the trio of bosses strategically.
steps
- Position melee carefully to bait First Mate Nama's turtle shell spin frontal, and soak his Mighty Thud mechanics based on group size.
- Destroy Gebbo's boxes to prevent AoE damage and find the fish to reset energy. The fish also triggers each boss’s ultimate ability—prioritize triggering based on your team’s strengths.
- Handle ultimate abilities effectively, such as mushrooms for Gebbo, Mighty Thud for Nama, and Frostfire Volley for Iku. Use strategic defensive cooldowns and clears during heightened moments of these abilities.

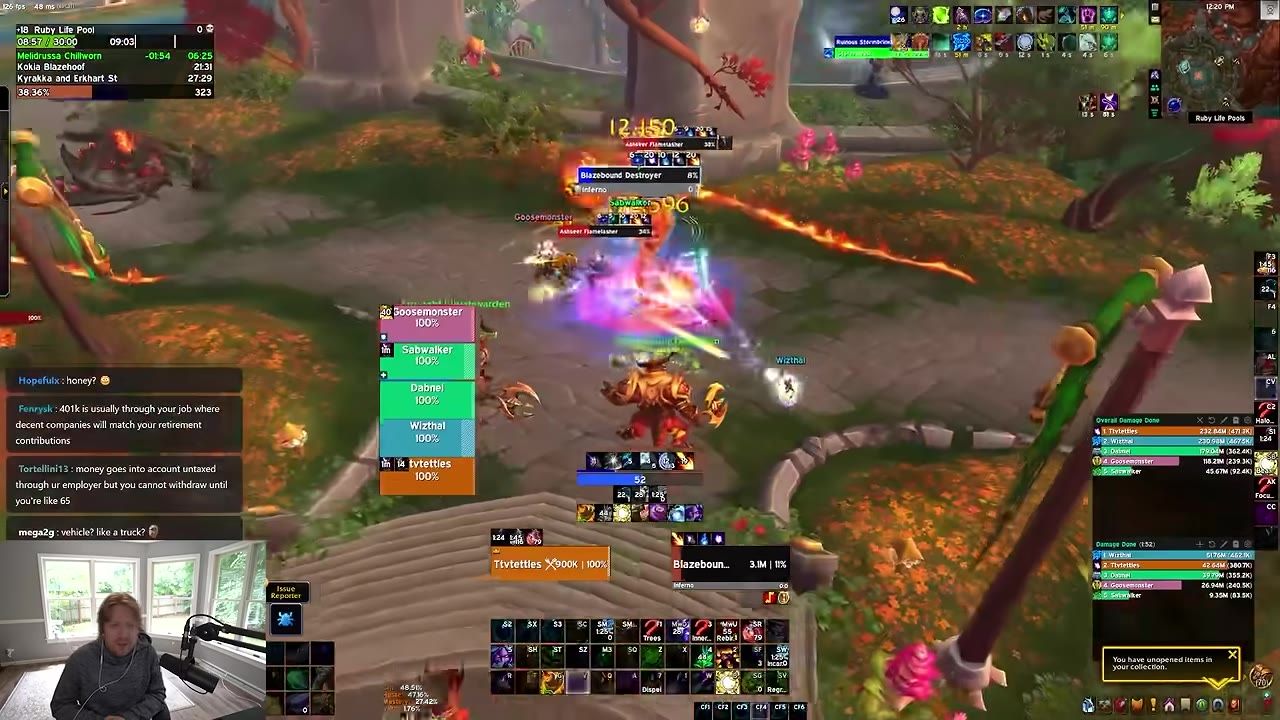
Multiple bosses engage in combat against players, showcasing active abilities and mechanics. — Tactyks
Vashnik the Malignant Explanation
This encounter rotates shrine mechanics and adds.
steps
- Position the boss carefully to avoid excessive stacking of shrine empowerment.
- Manage adds spawned from empowered shrines, staggering their kills where possible.
- Handle Plague Rot debuffs by spreading out and ensuring waves travel away from allies and the boss’s location. Address shrine-specific infections with appropriate dispels or positioning adjustments.

Players ready for combat against Vashnik the Malignant in a boss area with visible shrines and formations. — Tactyks
Sszorak Fight Tips
Minimize poison stacks and manage venom mechanics in this encounter.
steps
- Carefully manage venom-related debuffs and poison waves to avoid accumulating too many stacks. Limit exposure to stack sources and position appropriately.
- Use Ravenous Feast soak mechanics on normal difficulty to clear stacks for your team.
- Pay attention to repositioning mechanics during the fight to avoid being caught in the path of the boss’s beam attack.
The Twin Fangs Encounter
Managing stack accumulation and proper positioning is key to surviving this complex fight.
steps
- Avoid obtaining excessive stacks of Eternal Venom, which lead to instant death. Use Ravenous Feast soaks to manage stacks effectively, clearing them every phase as needed.
- Handle adds and venomous waves carefully to minimize stack accumulation. Focus on defeating what spawns in the middle of the arena promptly to avoid spreading the venom further.
- Position effectively to avoid mechanic-induced stacks from Coiling Ichor circles and venom waves. Be strategic with defensive cooldowns for final damage ticks.
- Use strategic repositioning methods during beam attacks, anticipating its rotation direction on heroic difficulty and adjusting accordingly.

Players navigate a complex encounter with area effects and boss activity visible. — Tactyks
FAQ
What are the mechanics for Nek'zali the Soulcoilers on normal?
Nek'zali's fight consists of two phases separated by an intermission, involving ad control, strategic repositioning, and debuff management.
How do I handle the intermission in Entombed Sentinels?
During the intermission, balance stacks by colliding with teammates to total four while spread preemptively. Errors result in penalties like dots.
What strategies work for The Lost Explorers?
Focus on destroying Gebbo's boxes to avoid AoE damage, managing Nama's spin frontal, and utilizing fish abilities strategically.
How do you position properly in Vashnik the Malignant?
Control and stagger add kills, adapt positioning and mitigate Plague Rot waves.
What are the heroic differences for Sszorak?
On heroic difficulty, Ravenous Feast requires group separation, venom poisons have amplified effects, and avoiding beam attacks becomes critical.
What abilities should I watch out for in The Twin Fangs?
Watch for Eternal Venom stack mechanics, Coiling Ichor debuffs, venom waves, and repositioning mechanics on heroic that intensify beam attacks.
Sources
Screenshots on this page are frames from the videos below, used to illustrate the steps they describe. All rights remain with their creators.
- NORMAL/HEROIC VENOMOUS ABYSS RAID GUIDE | Midnight Season 2 — Tactyks, August 13, 2026
Checked against:
- World of Warcraft — Blizzard News — news.blizzard.com